Jobs Help and Support
How to Add a Job
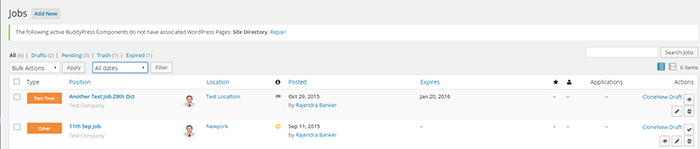
- To add a job, go to http://www.hwapps.org/wp-admin/edit.php?post_type=job_listing.
- Click on 'Add New' to add a job.
- In addition to 'Add New' this page also offers other options. Clicking on 'All' will give you a list of all Jobs, including drafts, pending jobs, deleted jobs, and expired jobs. 'Pending' refers to the list of jobs that are pending approval. 'Drafts' are the jobs that have been saved but not published. 'Trash' is the list of jobs that have been deleted. 'Expired' is the list of jobs that have expired and are no longer available.
- You can also search for particular jobs via the 'Search Jobs' button.
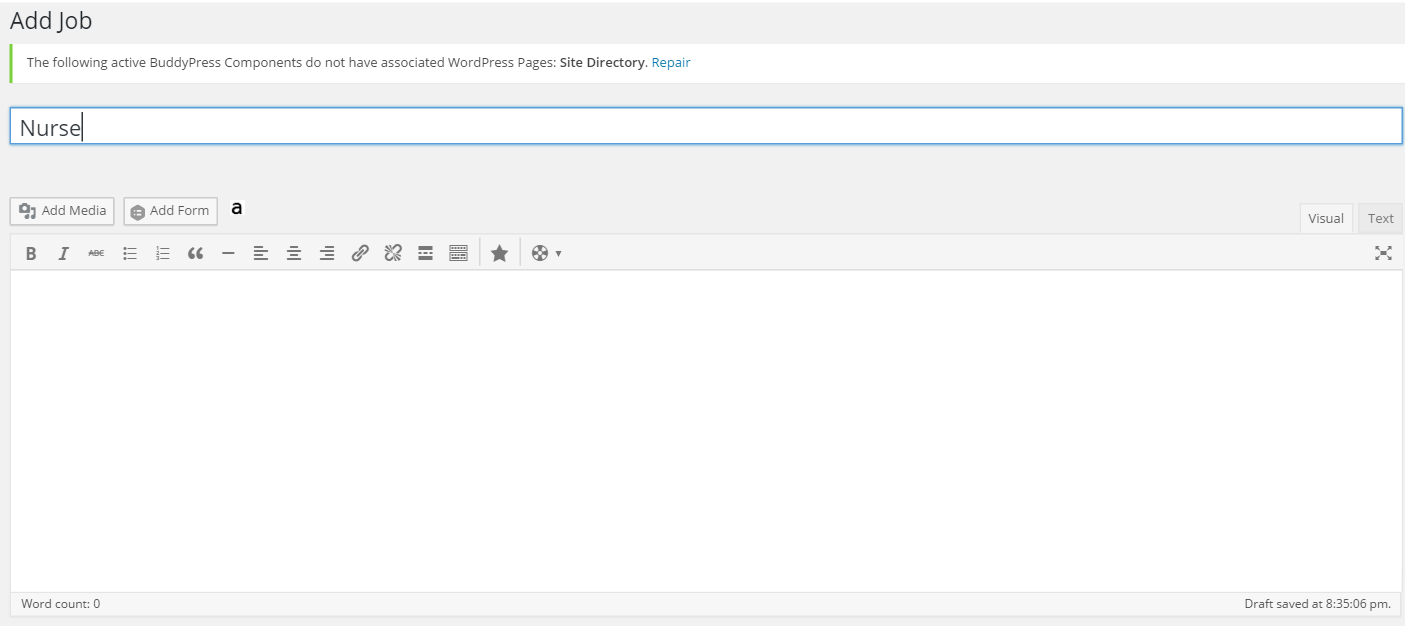
4. After clicking 'Add New', a new form will appear on the screen that allows you to add all job details.
- You can add the job position title in the top text bar. In the large text block, feel free to add as many job details as you'd like, including media such as photos and videos.
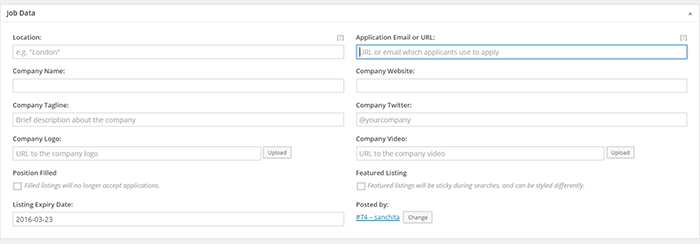
4. Add job details such as location, company name, company logo, and more. Please check the box 'Position Filled' if you no longer wish to receive applications.
5. Under 'Job types', you can choose one or more checkboxes to assign your job posting a job type. This will help applications when they are searching for a job.

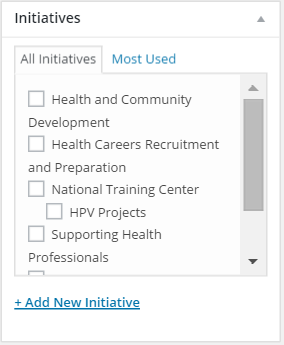
6. Under 'Initiatives', you can select one or more checkboxes relating to HWapps initiatives. If you are unsure what initiative to choose, you can also leave the checkboxes blank.
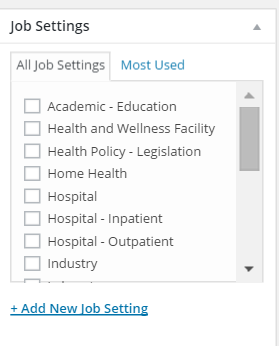
7. Under 'Job Settings', you can select one or more checkboxes by the job setting(s) that match(es) the job you are posting.
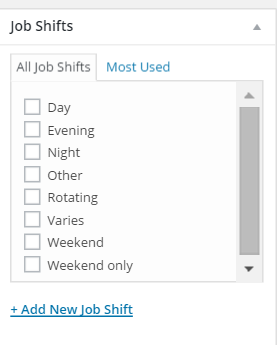
8. 'Job Shifts' refers to the time of day the job requires a person to work.
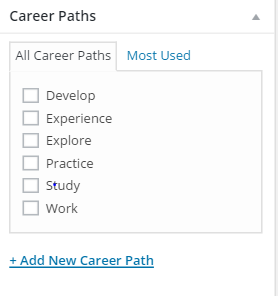
9. Selecting checkboxes under 'Career Paths' will enable you to assign the job an HWapps career path. If the job listing relates to developing skills through courses and events, select the 'Develop' category. If you are providing practical experience through programs, select the 'Experience' category. Select 'Explore' if the job provides career exploration opportunities. Select 'Practice' if your listing adds jobs and/or placements on HWapps. Selecting 'Study' if you are looking to add school programs. Use 'Work' if you are looking to add full-time, part-time, and/or internship opportunities to HWapps.
- For posting jobs, the most popular Career Paths will usually be 'Practice' and 'Work'.
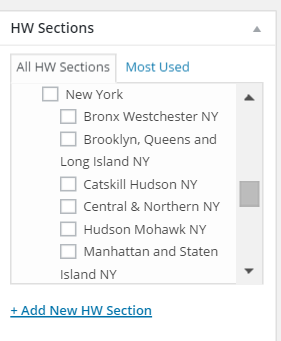
10. To assign your job listing to an HW section, please select the relevant checkbox under 'HW Sections'.
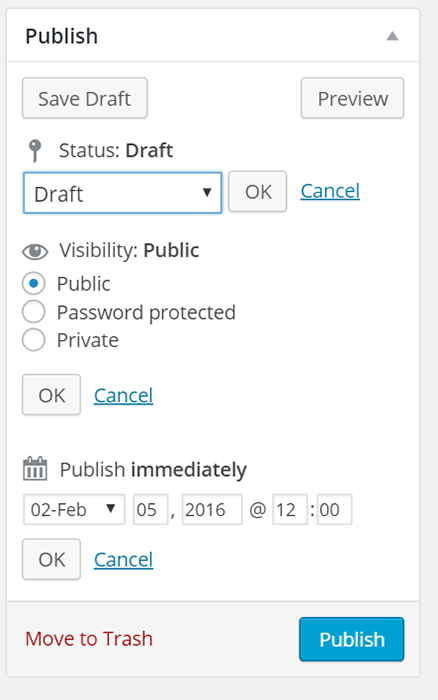
11. The 'Publish' field on the right side of this form allows you to save your draft, preview your job posting, and publish. Once you have added all content and you're ready for the job to be posted on HWapps, click on 'Publish'. Once the job has been published, you will receive an email confirmation.
- 'Save Draft' will allow you to save your progress in order to publish the job later.
- 'Preview' allows you to view the job posting on HWapps before publishing.
- Choose the visibility of the post (public, password protected, or private), then click 'OK'.
- You can also choose when to publish the job posting.
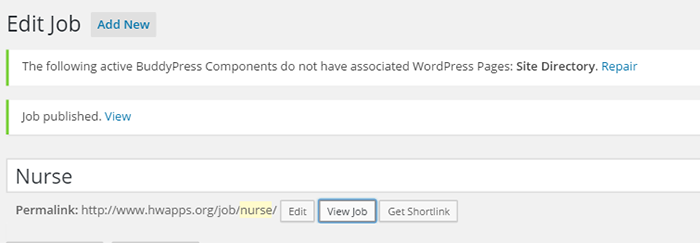
12. Once the job has been published, you can view the job posting by clicking on either 'View' or 'View Job'.
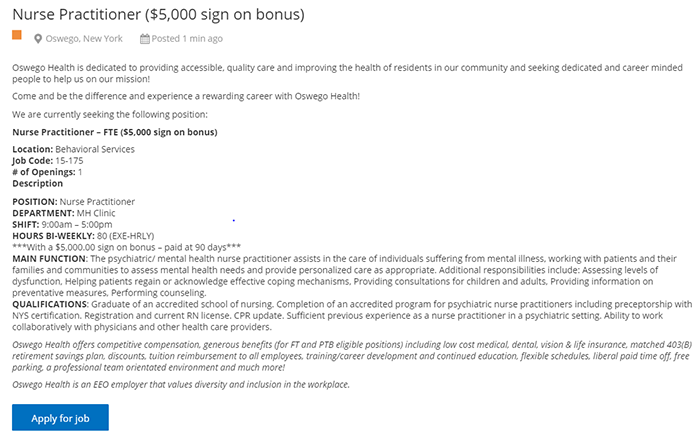
How to Apply for a Job
Once you have found a job you would like to apply for, click on 'Apply for Job' to begin the job application. Let's take a look at this job posting as an example:
After clicking on 'Apply for Job', a small window will open:
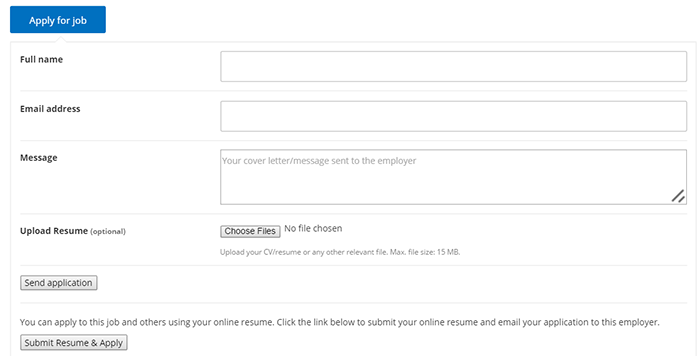
Add details such as:
- Your full name and email address.
- If you wish to send a message or add a cover letter, use the 'Message' field.
- Your resume (click 'Choose Files'). The maximum file size limit is 15MB.
Once you're finished adding all details, click 'Send application' to finish the job application process.